Key takeaways
- Hold a light flat against the wall: it shows every ridge, hump and texture mismatch.
- A bad patch usually needs to be sanded down and feathered wider, not covered with more compound.
- Texture is tested on a scrap board first, then applied to the wall.
- A crack where the wall meets the ceiling often moves with the seasons, so a rigid repair may crack again.
- Patches get primed before paint, or they show as dull spots through the finish.
In this guide
Know your texture
Walls and ceilings in North Texas houses carry a handful of common finishes, and matching starts with naming yours:
- Smooth: flat, with no pattern. The hardest to patch invisibly, because every ridge shows.
- Orange peel: a fine, even pattern like the skin of an orange, sprayed on.
- Knockdown: sprayed in larger splatters, then flattened with a wide knife to leave smooth islands.
- Hand-troweled or skip trowel: applied by hand, with an irregular, layered look.
- Popcorn or acoustic: on ceilings in older houses. Have it tested before anyone scrapes or sands it; small hole in the ceiling explains why.
- Plaster: in many older homes, a hard, smooth or lightly textured finish over lath, repaired with different materials than drywall.
Why patches show
Look at a visible patch with a flashlight held flat against the wall and the reason is usually plain. Compound was built up over a small area, so the patch stands proud as a hump. The edges of the tape or the patch board show as straight lines. The texture was skipped, or sprayed too heavy, so the patch reads as a smooth square or a busy one. Or the patch was painted without primer, and it shows as a dull or shiny shape, called flashing.
Raking light from a window or a lamp at night makes all of this more visible. A good repair is checked that way before it is primed, not after.
Fixing a bad patch from an earlier repair
It is common to inherit a patch that never quite disappeared, after a plumbing repair, an electrical job or a previous owner’s fix. The first question is what is under it. Press on it. A patch that flexes has no backing behind it and will crack again. Tape that bubbles or lifts at the edges was not bedded well. Spackle used to fill a large hole tends to shrink and crack.
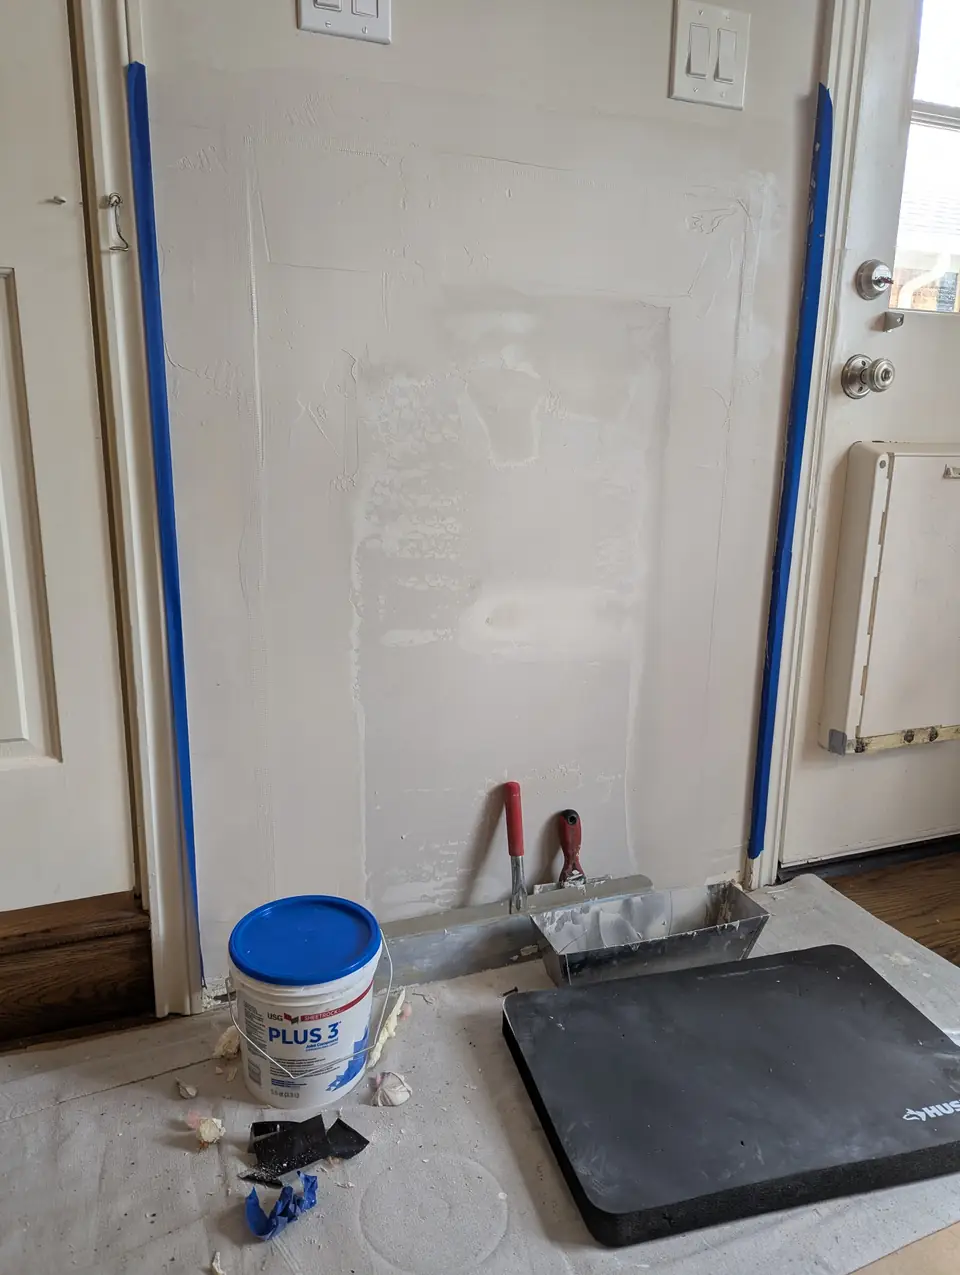
A patch that is solid but lumpy can be sanded flat and skimmed again, feathered out much wider than the damage so the eye can’t find an edge. A patch that flexes, bubbles or cracks is better cut out and redone: backing added, new drywall set, taped and finished in thin coats. Then the texture is matched, the area is primed, and the wall is painted, corner to corner if the old paint won’t blend.
A patch that still shows? Tell Daniel about it
How texture gets matched
Sprayed textures are rebuilt with a hopper gun, or with a can of spray texture for very small areas, adjusted for thickness and air pressure until the splatter size matches. Knockdown is sprayed, left to set for a moment, then flattened with a knife at the right time. Hand textures are built up by hand with a knife or trowel, copying the strokes around the patch.
A careful installer tests on a scrap of drywall first and compares it with the wall in the same light. The new texture is feathered into the old so there is no border. Small differences in texture tend to disappear once the area is primed and painted, while a ridge underneath never does. That is why flat comes first.
A crack where the wall meets the ceiling
A crack along the corner where an interior wall meets the ceiling is one of the most common cracks in a house. Sometimes the tape in that corner was simply never bedded well and has let go. Often the corner is moving: in many houses built with roof trusses, the trusses can rise slightly in the cold months and settle back in the warm ones, pulling the ceiling away from the wall and closing the gap again. That seasonal movement is usually harmless, but it cracks a rigid repair again.
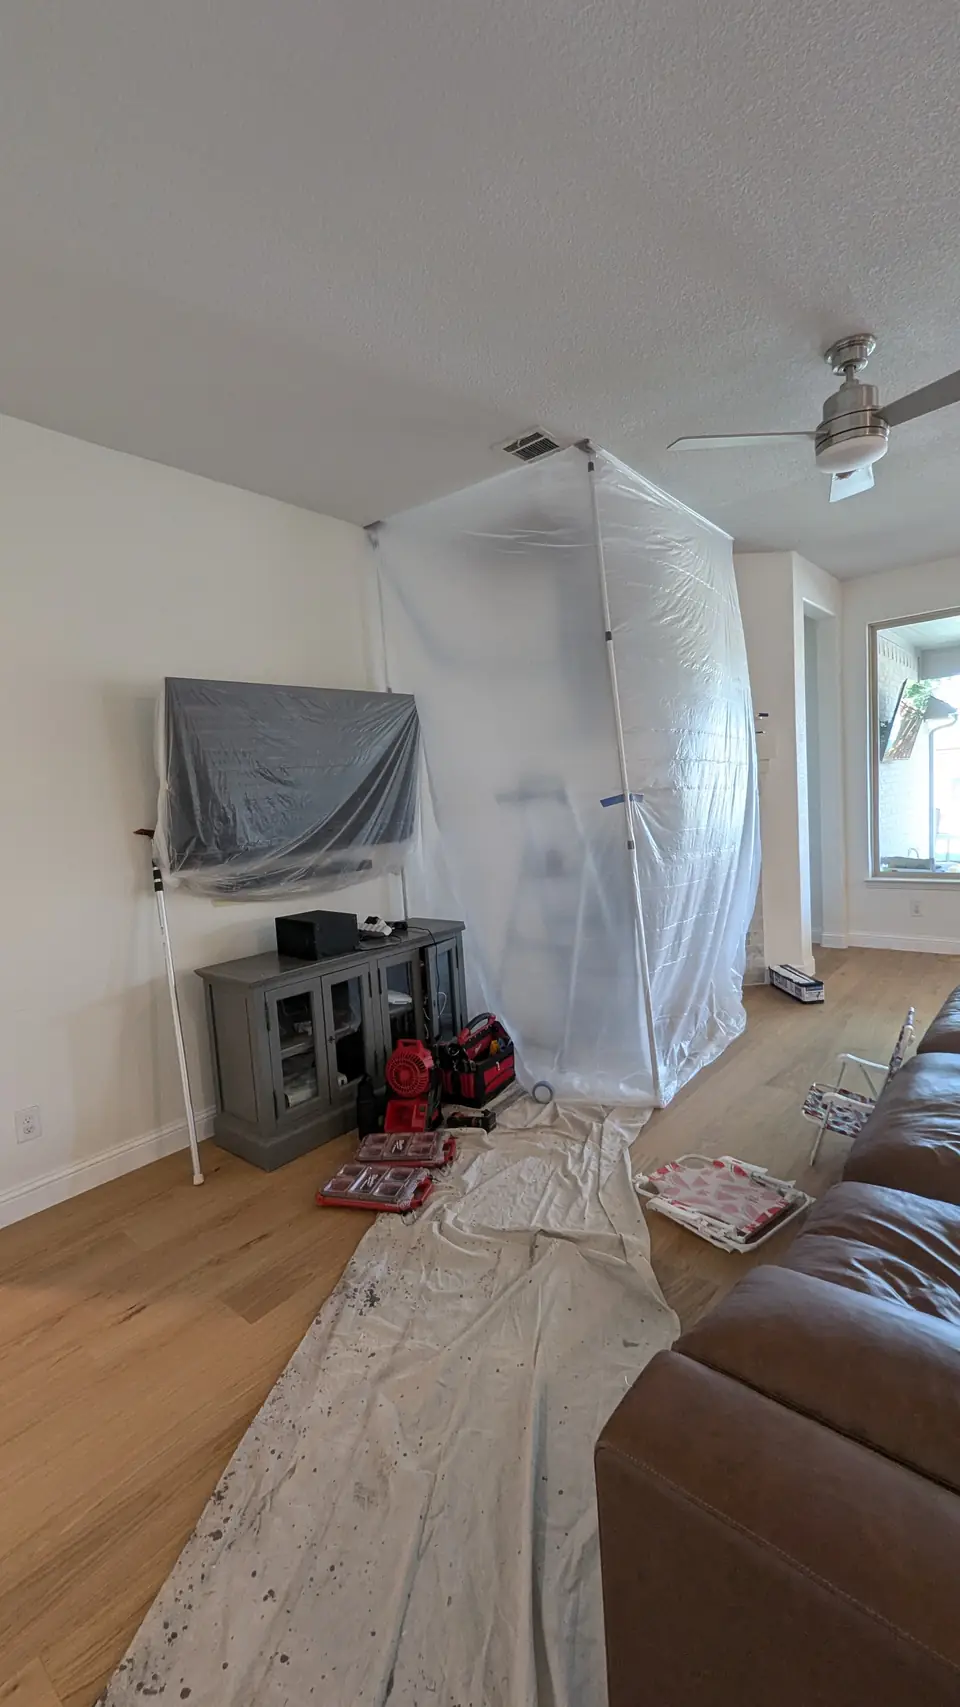
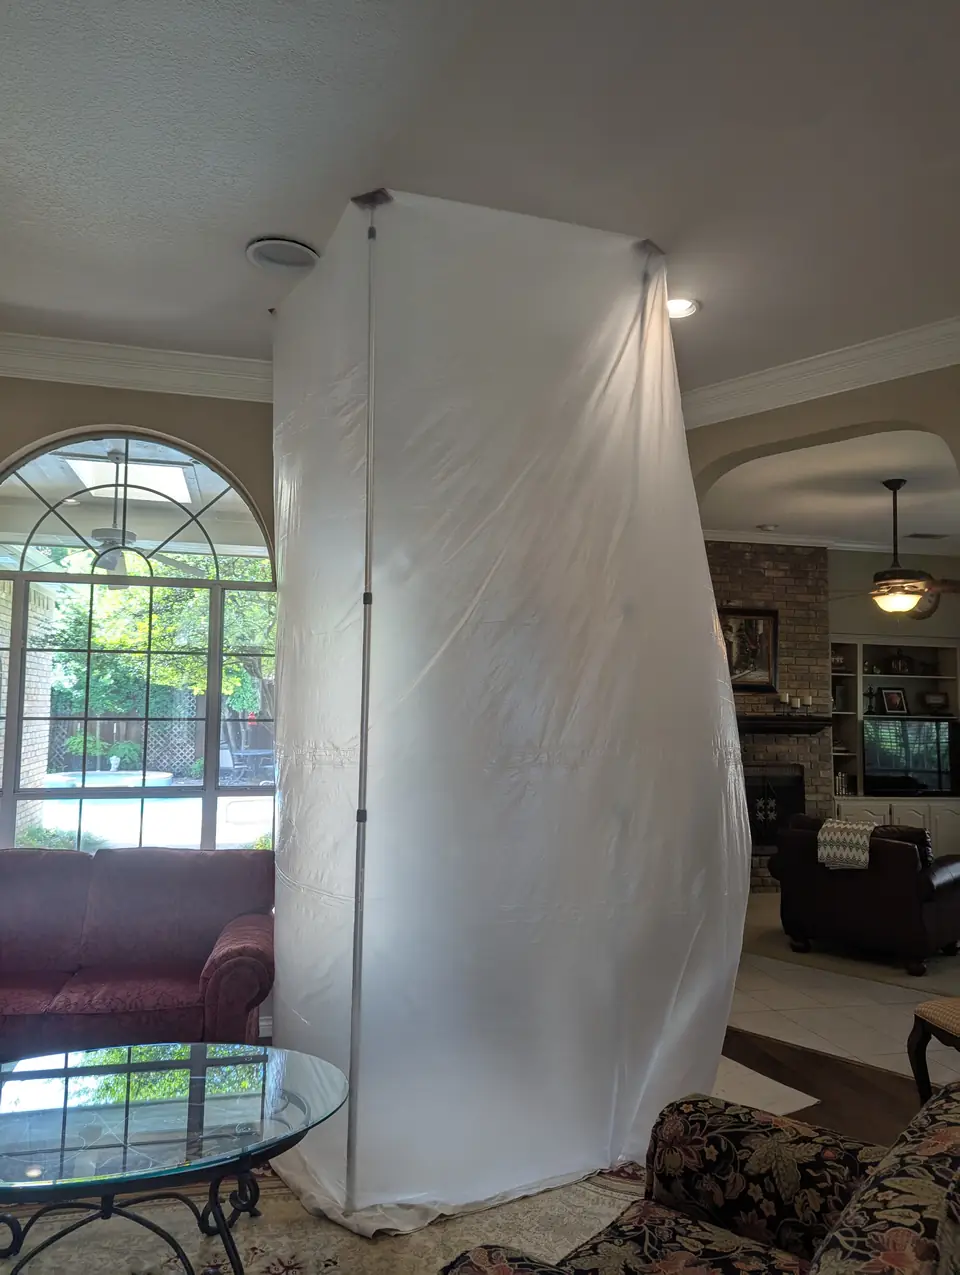
For a one-time crack, the loose tape is cut out and the corner re-taped and finished. For a corner that opens and closes with the seasons, a common carpentry answer is crown moulding fastened to only one surface, so it slides as the corner moves and hides the gap year round; trim, moulding and wall paneling covers that work. Daniel’s ceiling crack repair shows cracks secured and filled before finishing, inside a plastic containment.
A crack is worth more than a cosmetic repair if it is wide, keeps growing, runs diagonally from the corner of a door or window, or shows up with doors that suddenly stick. Reliable help for an older Dallas home explains when to have movement looked at before patching again.
Getting walls ready for a professional painter
If a painter is booked, the drywall work should be finished, dry and sanded before they arrive. That means holes filled and flattened, nail pops reset, cracks taped, texture matched and gaps between trim and wall caulked. Agree with the painter beforehand on who primes the repairs and with what, since many painters prefer to spot-prime themselves. Leave the repaired spots marked so nothing is missed.
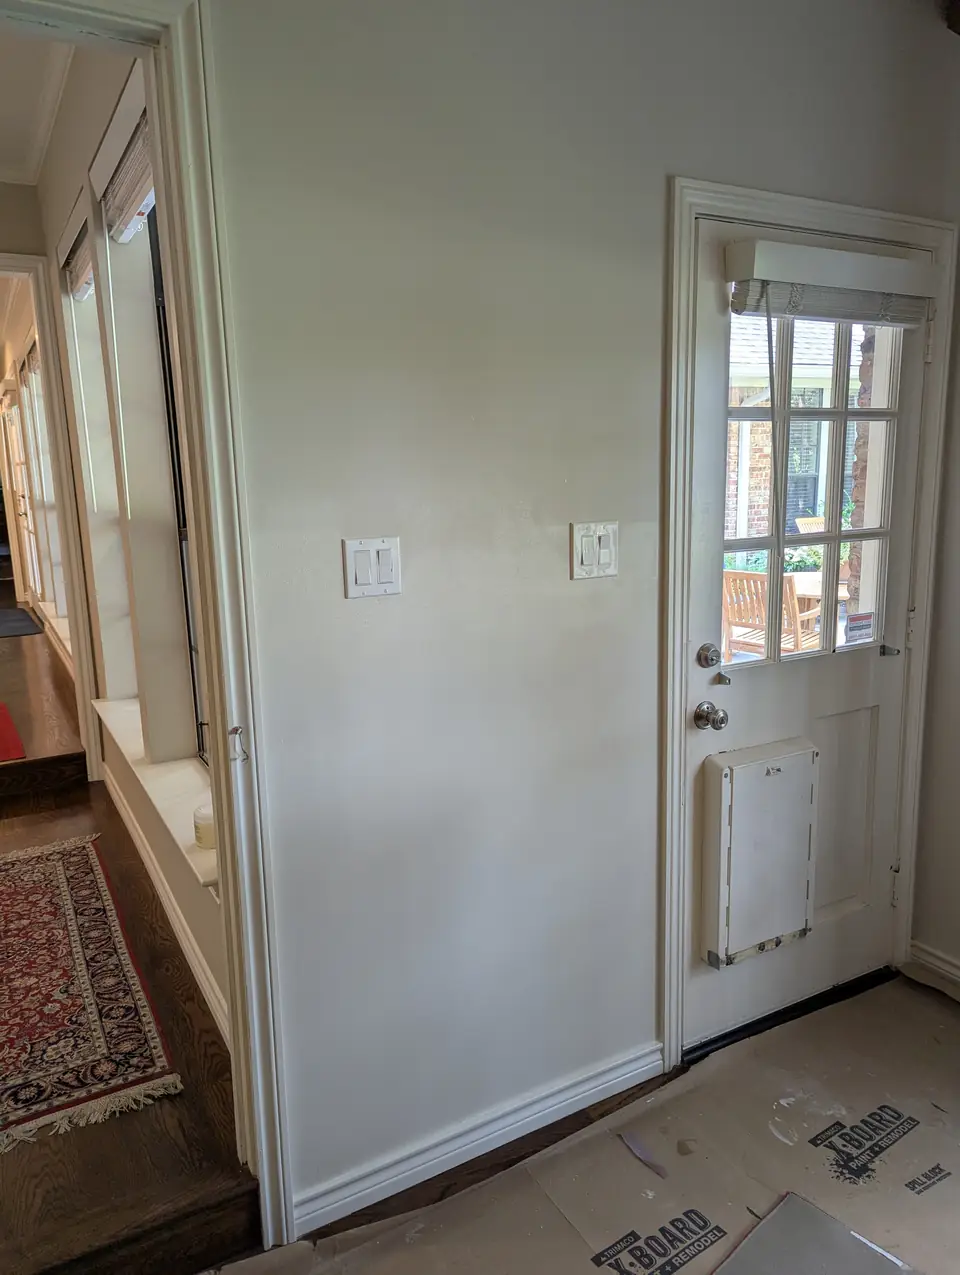
Daniel’s interior wall opening shows a large repair finished and sanded until it disappeared into the wall, and his ceiling repair inside a containment shows how the dust stays out of the rest of the room. See drywall repair for the work we take on. Send a close photo and a wide one, taken with a light held at a low angle, through Request service.